|
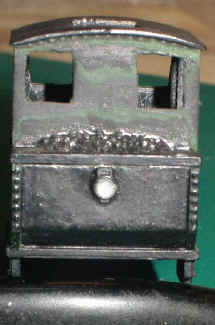
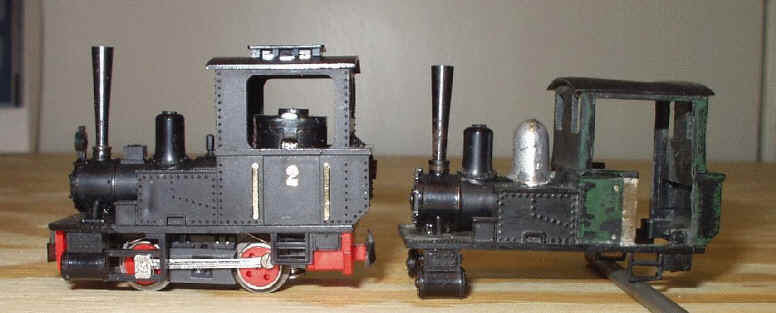
11/11/03 The first step was to square up the porthole style windows in the front and back of the cab. I will be removing both the front and rear lights to make way for much larger old-fashioned lights. I removed the hatch from the cab roof and squared up the hole. |
  |
 |
I also removed the rivet detail from the cab itself, as the new version will be wooden rather than steel, enlarged the side window openings, and cut out a section for a full height door. |
| 2/13/04 Finally got some more work done on this project! Moved the EB steam dome forward to the location of the European style sand box and added a new steam dome. Everything is just balanced in this picture. I plan to add whistle, etc., on top of the new steam dome and a bell on top of the sand dome. See the picture below to compare the new arrangement with the standard EB arrangement. | 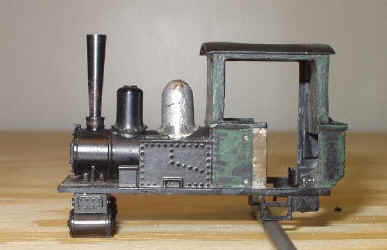 |
 |
|
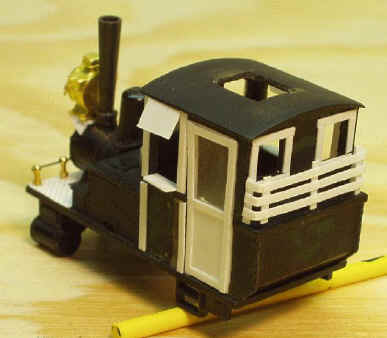
| 2/15/04 Safety tread and handrail stands on the front deck, a different steam dome (from Railway Recollections), doors built up sandwich style with glazing, framing around the windows, and sunshades. | 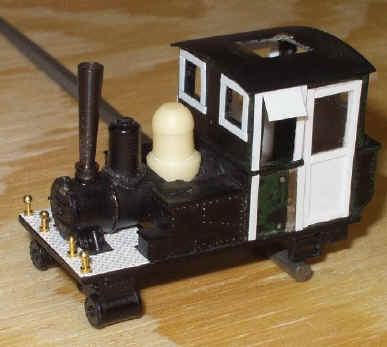 |
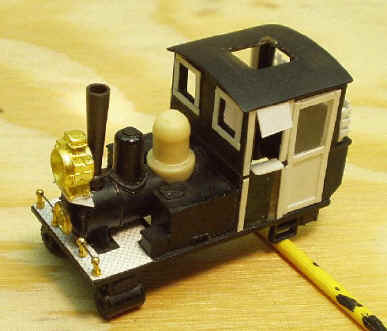 |
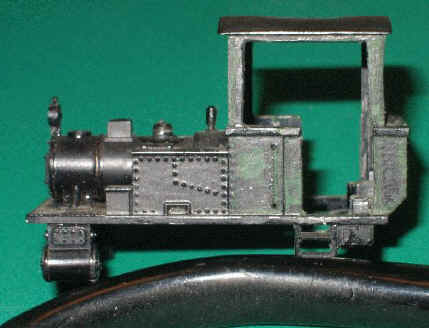
2/16/04 Added armrests, wood bunker, headlight & bracket. |
| Another view of 2/16/04 work. | 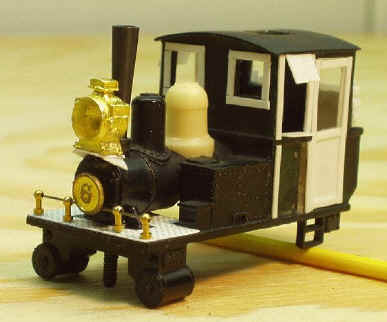 |
 |
Rear view of 2/16/04 work, showing wood bunker. |
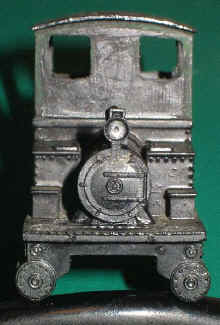
| 2/16/04 Head-on view, showing number plate, oversized headlight, and handrail. Compare this to the head-on view of 11/11/03 at the top of this page. | 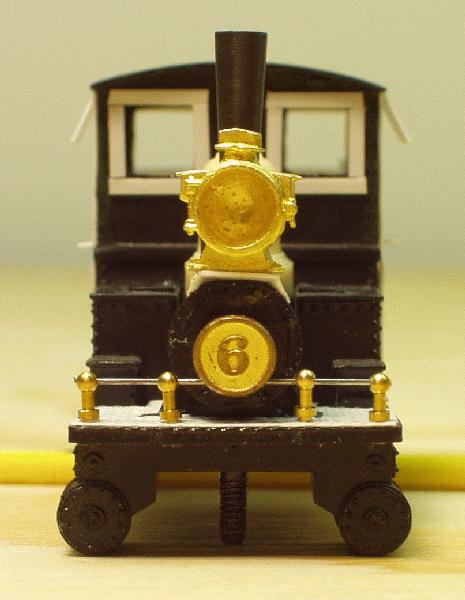 |
 |
2/18/04 A spark arrestor for the stack, made from the mesh of a Mr. Coffee permanent coffee filter (in the background). One such filter contains enough mesh for all the spark arrestors one would ever need to make. This mesh holds its shape and does not frazzle out. |
| 2/19/04 Grey/black smokebox, first cut at weathered wood on the cab, plus a bell and whistle. Remember that many of the parts are just set in place, not glued yet. | 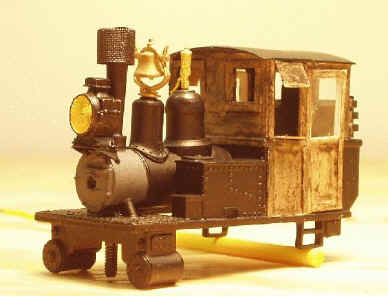 |
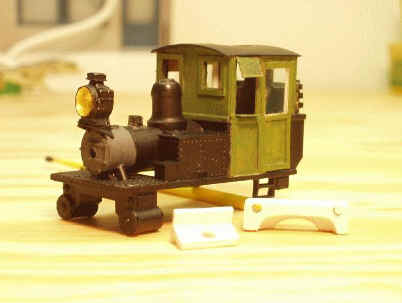 |
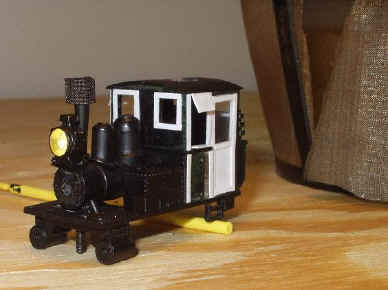
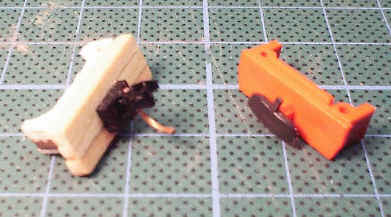
3/18/04 I did not like the weathered wood look, so I decided to go with my official Monte Sano RR Green, but left it a bit scruffy looking. The two styrene objects are fabricated cores for the front and rear pilots. I will be attaching wood strips to the faces of these, along with couplers modified from those on MicroTrains 1017 adjustable passenger trucks. See the Plymouth Couplers page for an explanation. |
| I've been working on pilots to
implement the MT couplers. This turned out to be a little more
complicated than the Plymouth; but I used the same couplers because
these give the shallowest (back to front) draft gear box and this is the
most constrained dimension in the Egger Bahn installation.
|
In the front, I used the tongue of the coupler (see third
picture down) slightly shortened and drilled to allow the EB smokestack
to pass thru and screw into the EB chassis below. A piece of .010
styrene slips over the tongue and has wood strips glued to it.
In the rear, the styrene core is attached much like the original EB rear pilot, the tongue of the MT coupler is slipped into a slot and held in place with a 00-90 screw. Again, wood strips are glued to the core for the pilot face. Both will be stained. |
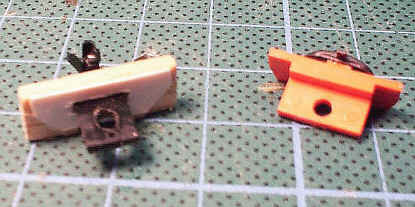
Front Pilots, viewed from the rear/top |
Front Pilots, viewed from the front |
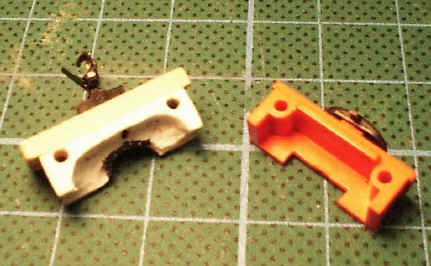
Rear Pilots, viewed from the bottom |
Rear Pilots, viewed from the back of the loco |
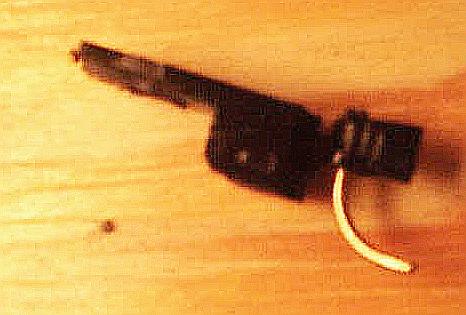
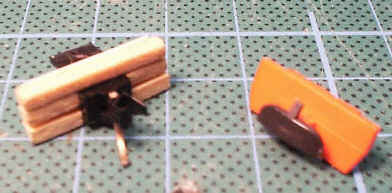
A poor macro shot of the side of one of the couplers, showing the shallow draft gear and extended tongue. |
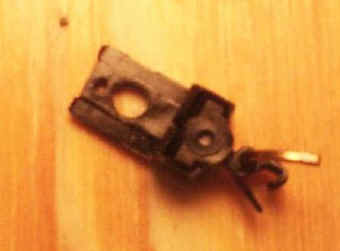
Bottom view of the same coupler |
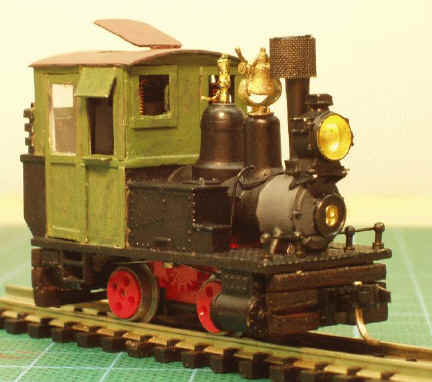 |
4/13/04 Pilots on, sand dome and sand pipes added, bell, whistle, front handrail, spark arrestor. Still need to do something about those red wheels! |
| 4/13/04 Here's a head-on view. Compare to 11/11/03 and 2/16/04 above | 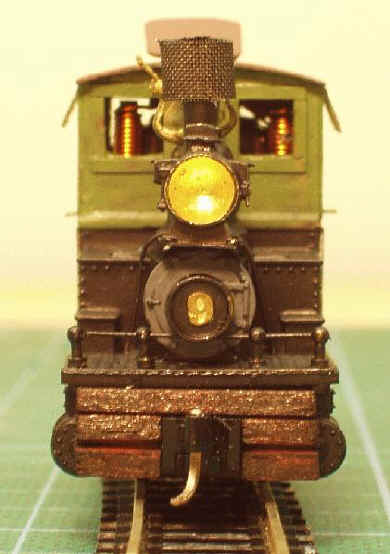 |
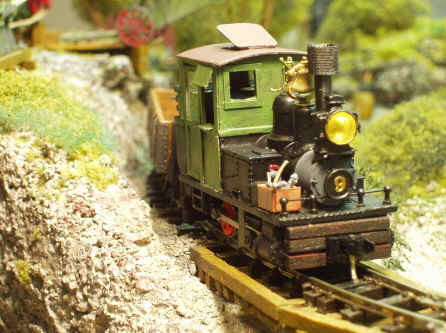 |
1/1/05 Here's the Egger Bahn nearing completion with a small toolbox by the smokebox. |