|
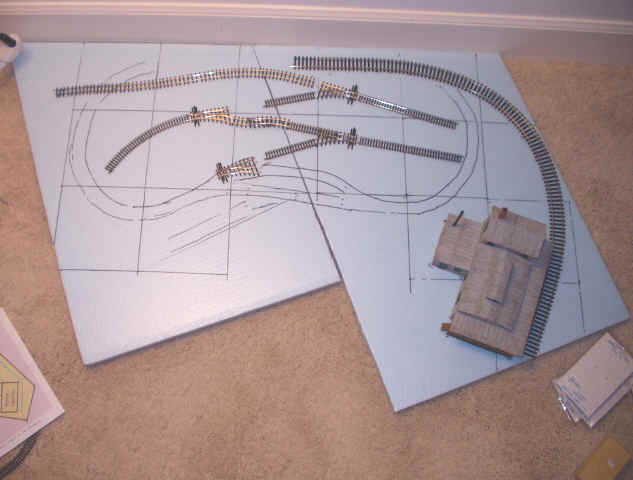
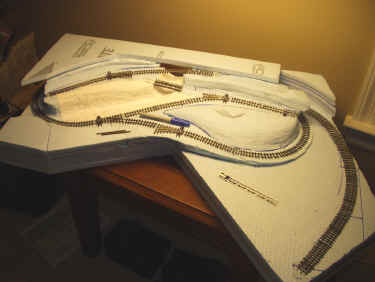
1/16/06 Yesterday and today, I laid out some real track on some blue foam board to see if this arrangement can possibly work. The barrel factory required a little fiddling, since the 40 foot barrel car can't handle less than an 11 inch radius, but the switchback seems possible. Here's a photo of the work thus far: The grid is 6 inch squares.
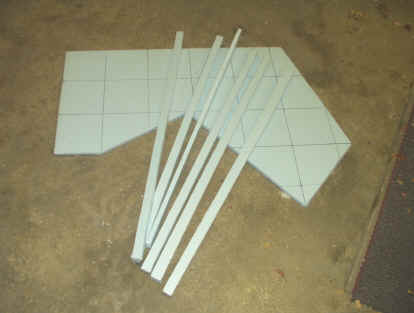
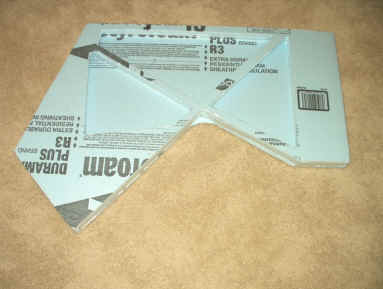
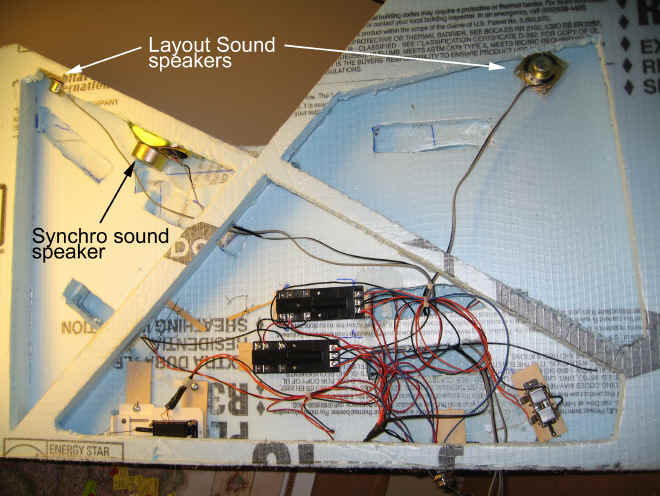
1/18/06 I decided to go with "all foam" structure. I wanted light weight for portability, but also wanted the layout to be sturdy. An article in a recent issue of RMC triggered my thinking, and I decided to use a foam base with foam girders, all hot glued together. Here are the steps: 1. Cut the base to shape and cut some 1 inch wide strips of foam (this is all 1/2 inch thick insulating foam).
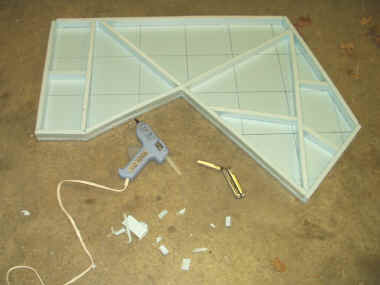
2. Hot glue the strips on edge to the base, avoiding areas where switch machines are to be mounted.
3. Cut the base out for access to switch machine areas, leaving about a one inch wide strip to form an "I-beam" for strength.
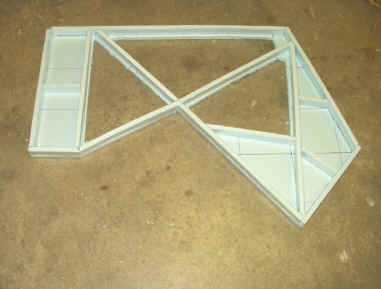
4. Glue on the top, which will be the baseboard for the layout. This is a bottom view of the assembly. This boxed structure is very rigid, yet weighs next to nothing.
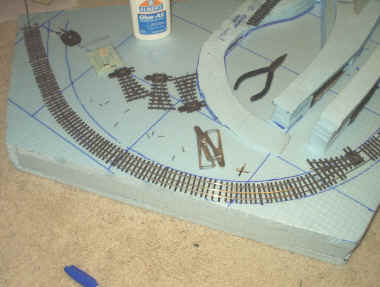
1/26/06 I've added roadbed for the main loop and the switchbacks up to the logging camp. I use a hot wire cutter and a Stanley Surform tool to cut and shape the blue foam, with hot glue to hold things together. Here's a picture with the barrel factory and a small sawmill in place. I can't go further with the lumber camp area until I lay the dual gauge track that passes underneath. I'm going to use MicroEngineering code 55 standard gauge flextrack, then add some wood ties and spike in the HOn30 third rail. This will match up with my Shinohara HOn30 track and turnouts.
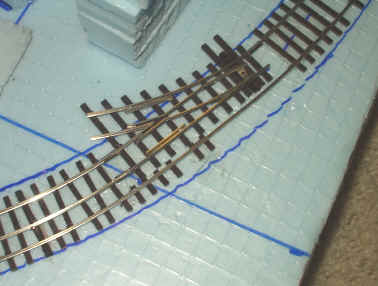
2/1/06 I've started the dual gauge track. First, I removed about every eighth tie from the ME flextrack, then shaped it to the curve I had drawn on the base. I cut about 1 inch strips of double-sided tape and pressed the strips to the underside of the flextrack ties, then removed the paper on the second side. I flipped the flextrack over and pressed it into place starting at the end near the Barrel Factory. Then, I stained some wood ties to match the ME plastic ties and slipped them under the track with some white glue to secure them. At some point in all this, I cut one rail of the flextrack to make room for a Shinohara HOn30 turnout, and soldered it in line with the cut rail (see the picture below). Using a piece of code 55 rail, I started at the second rail of the turnout and gauged and spiked a narrow gauge center rail in place to create the dual-gauge track. With some power applied, both standard and narrow gauge equipment traverses the stretch of track. Success!
2/14/06 The dual gauge
section is complete, and I've laid track up through the first
switchback. The Class A Climax navigates all the twists and turns
just fine, as does one of the AHM Baldwins. I realized that I'd
better get my water feature roughed in so I could build trestles where
required, so I've stopped to do a little scenery work. Eventually
there will be a small waterfall at the rear center, more of a seep,
really, and there will be a water channel down and to the left.
The switchback section will cross the channel twice on short
trestles. In the picture below, I've used Woodland Scenics plaster
cloth to form a shell in the water channel. I have a little more
work to do before I can build the trestles, but you can see the start of
one laid across the channel.
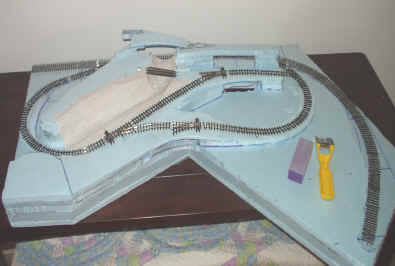
3/21/06 I've filled in the areas between the loop track and the front righthand switchback with a hilliside and between the two right switchbacks with more terrain. Also, I've added some supports in the back for the upper layer of terrain. Lots more to do...
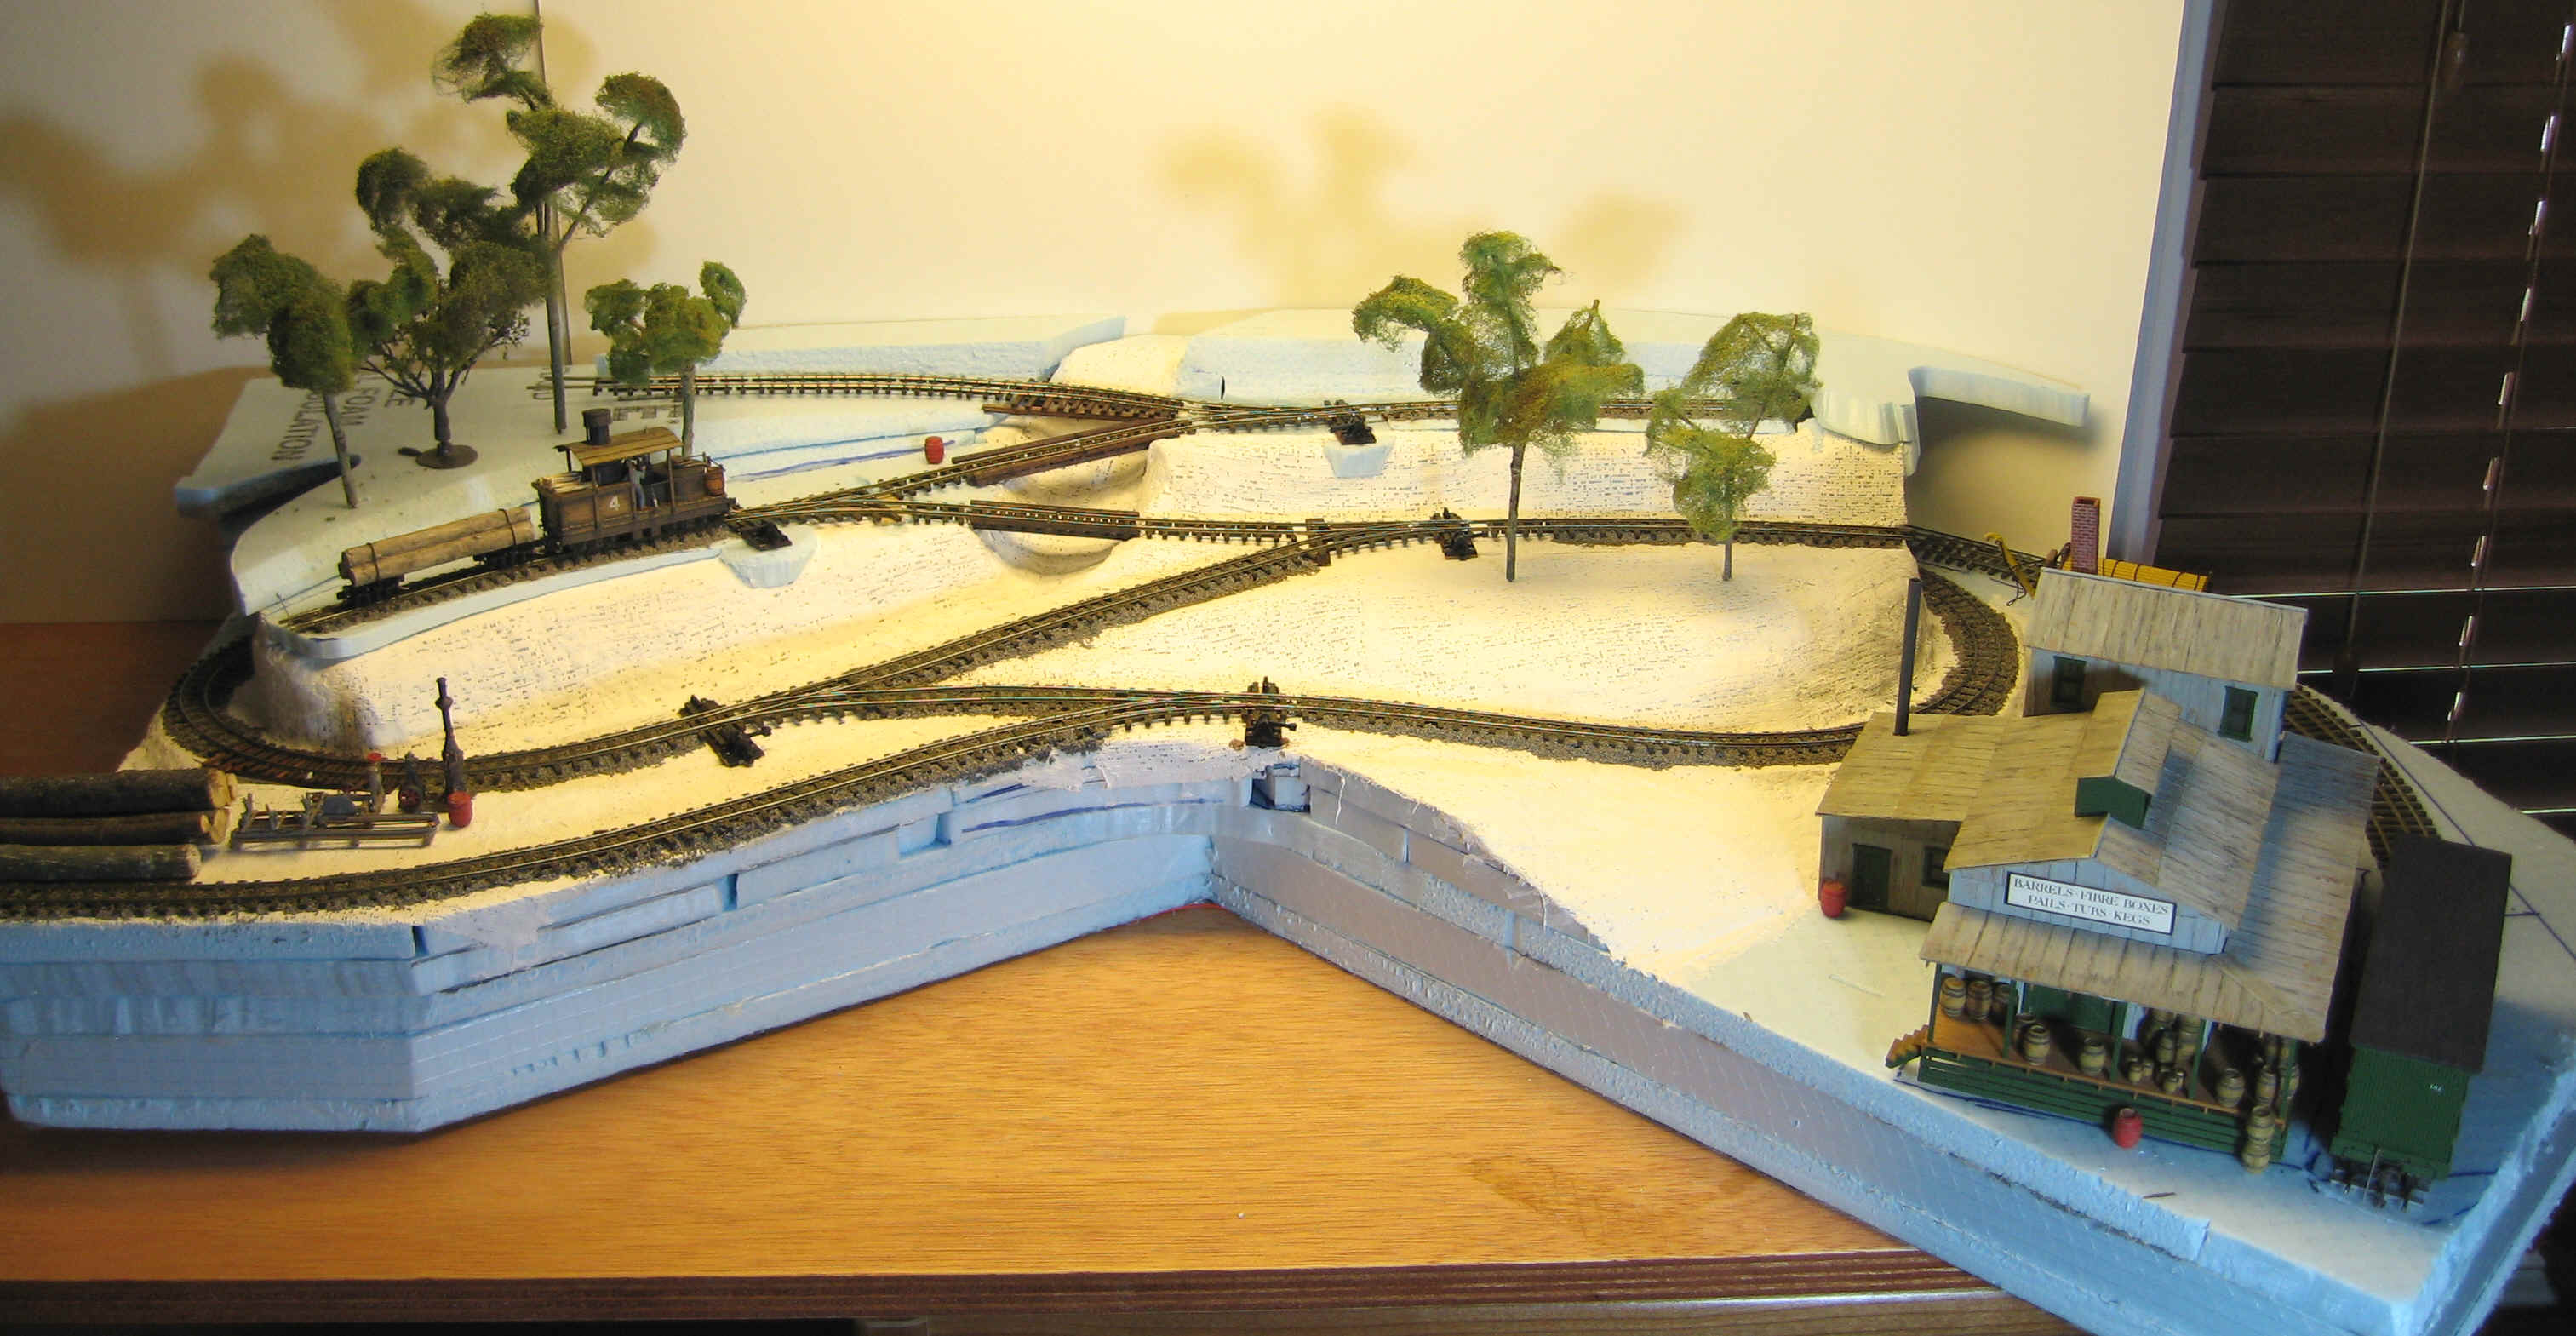
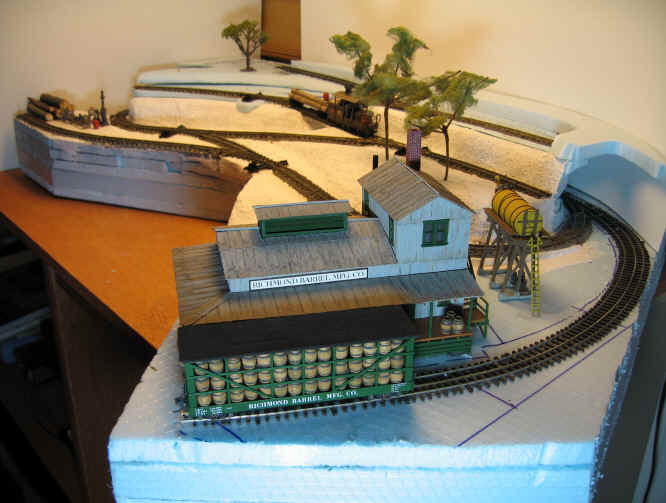
8/26/06 Sorry I've taken so long to update this page. I've been working, honest! This trackwork is pretty difficult to get right - I call it extreme railroading. Here's an overall view with the barrel works and sawmill set in place. The trees are borrowed from the MSRR for effect. Oh, I've decided to name this layout (finally). It will be the Viduta Timber Company. Viduta was a small town atop Monte Sano and this layout represents a hypothetical timber operation just below Viduta on the slopes of the mountain.
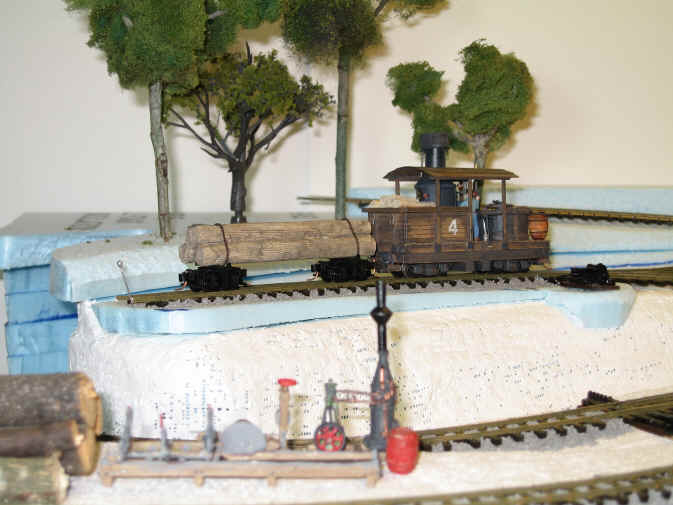
Here's a view over the sawmill with the Climax and a loaded log car on the switchback above.
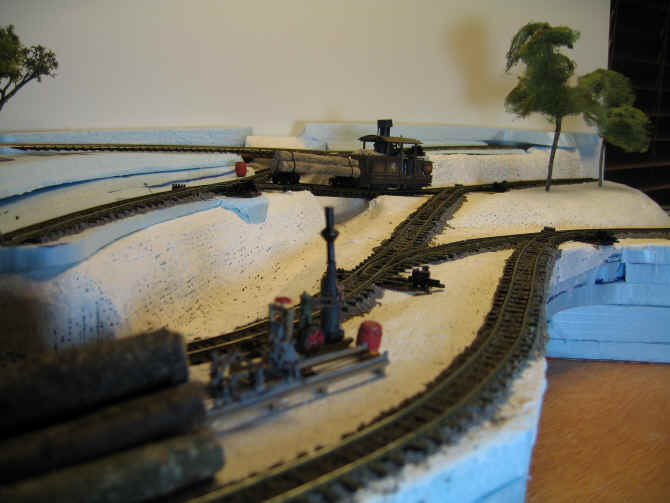
This view gives feel for the switchbacks.
Here's a view over the barrel works.
|