| 3/21/06 Today, I started work on a
conversion using a LifeLike 0-6-0 chassis and an AHM Baldwin shell, with
the objective being to get a reasonably good-running small Baldwin,
following the article by Ed Cass on Jeff
Law's emagazine site. I've previously done the NWSL gear set
upgrade on the AHM Baldwin, and it did improve things, but still, it was
a 1964 chassis, and a very inexpensive one at that. The LIfeLike
is a good runner and the conversion should yield a useful loco.
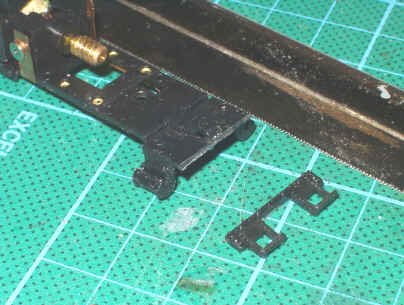
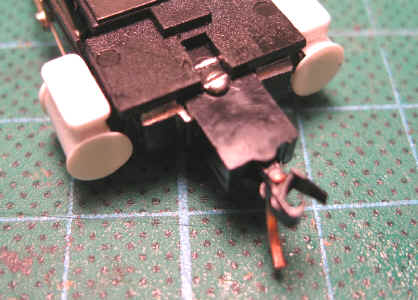
I did vary from Ed's instructions, choosing to remove the front pilot from the LifeLike chassis, as I will ultimately put a more accurate pilot in its place. In the picture at right, I've used my razor saw to cut the pilot from the plastic part of the chassis |
 |
| In the next picture, I've used a half-round jewelers file to cut down the top of the integral coupler mounting box and to cut back the front edge of the metal chassis to clear the lower front of the AHM shell. You can see the metal removed in the shiny area of the picture. | 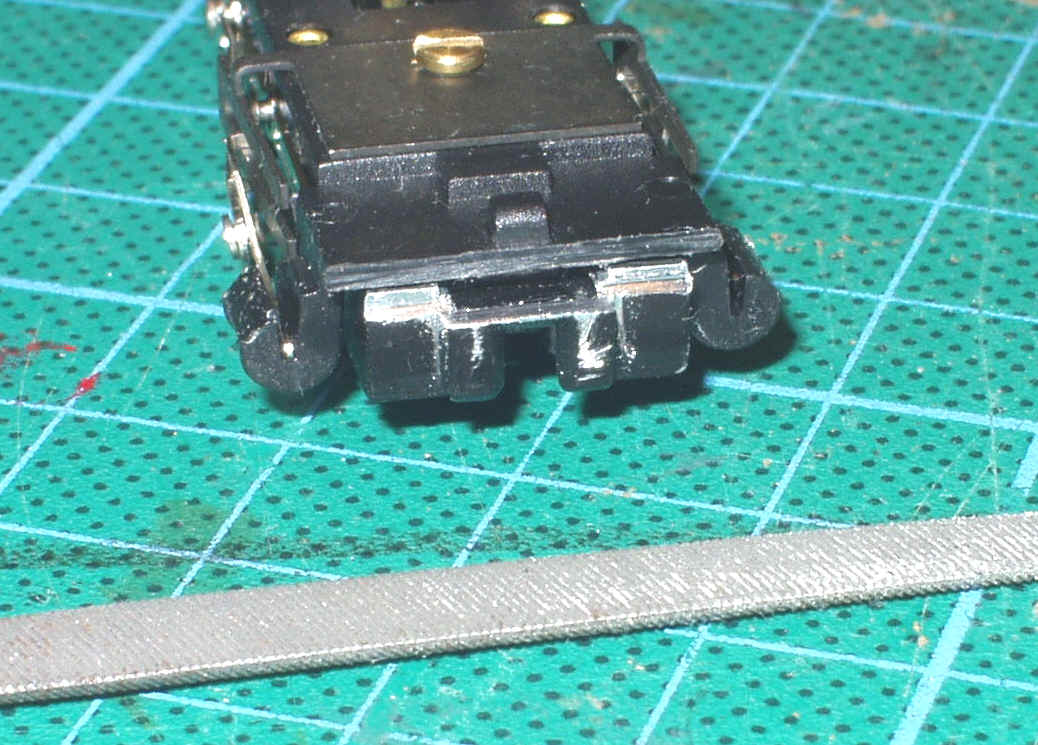 |
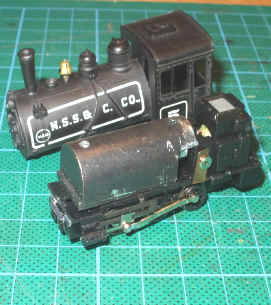
| Here you see the AHM shell test fit on the modified chassis. I'll add rear supports, etc., later. More to follow. | 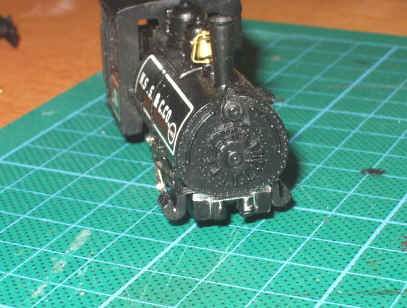 |
| 3/24/06 A weight from the parts box (from the Bachman Docksider), a little grinding with the Dremel tool, and here's about the maximum weight that can be crammed into this boiler. And, it runs really smoothly with this much weight. | 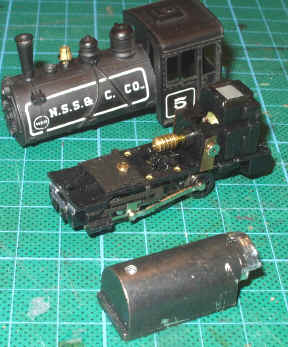 |
 |
|
| 5/9/06 Those N scale steam cylinders just looked too small, so using some styrene tube, channel, and strip, I've fabricated a larger cylinder that slips over the existing one. The picture shows it unpainted. I plan to fill the small crevice in the front with a little Squadron green putty before I paint it. |  |
| 5/14/06 The Baldwin shell now sports handrails along the saddle tank, sunshades over the cab windows, a cleaned-up cab hatch, and a number plate on the smokebox door. Lying on the mat, ready to install, are footboards (complete with safety tread), and not shown are a new bell, whistle, and big headlight. For continuity, it will get the same type headlight as the one on the "Americanized" Egger-Bahn. | 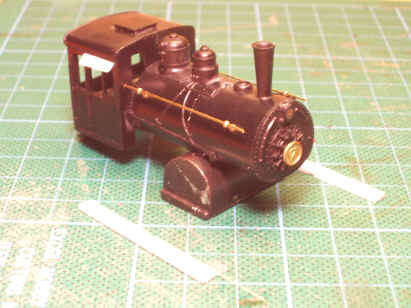 |
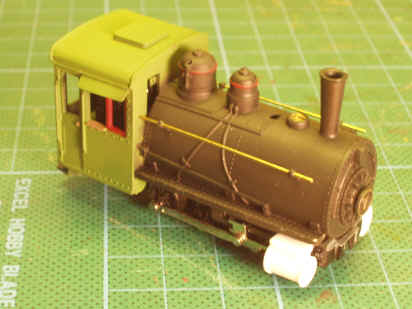
| 5/17/06 Here's a test fit of the details. The footboards are glued in place, but the whistle, bell, and headlight/bracket are just sitting there. Yes, the headlight will be out at the front edge, but it wouldn't balance there for me. Not shown, but ready to install, is a lever and operating rod for the sand dome. Looks like a pilot is the next part of the project. |  |
| 5/26/06 I got a friend to airbrush the saddletank
with Polly S "Steam Power Black" and the cab with my favorite
green. I've added some red trim on the domes and windows and
detailed the hand tools cast on the back of the cab. I like the
look of the number plate, where I scraped the paint off the rim and
number. I'm thinking of leaving the handrails brass, and I can't
quite decide about the cab roof. Should I leave it green, or paint
it black or perhaps red?
|
 |
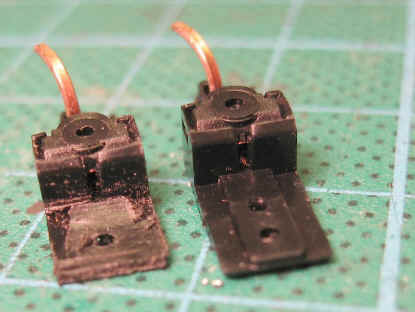
| 6/14/06 Working on the front
coupler and pilot. Decided to use my favorite MT coupler, which is
the coupler from the MT 1017 adjustable passenger trucks. This
coupler has a very shallow (front to back) draft gear and a long
mounting tongue. I found that there is a slot in the Life-Like
chassis that is just the right height for the MT coupler, so I shortened
the mounting tongue and thinned it from the bottom with a file.
The picture at right shows the standard and modified couplers.
Next, I drilled and tapped a 00-90 hole and mounted the coupler. The picture below shows the coupler mounted. Finally, I am making a pilot beam from a HO scale 10x10 and the footboards from some scrap pieces. The pilot beam is notched to fit over the coupler, so the coupler mounting will also mount the pilot. I've started some detail around the coupler to create a cast iron flange. The pilot will need a handrail and maybe a coupler lift lever. The beam is pictured below right. |
 |
 |
|
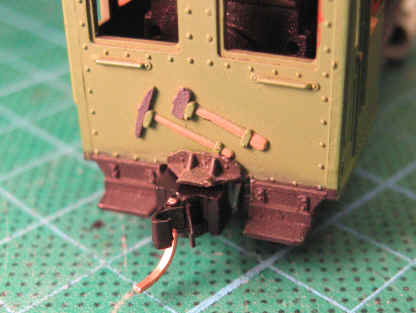
| 6/20/06 The rear coupler is installed. I filed away part of the LIfeLike chassis, very much as I did the front, and mounted a MT 1017 coupler after shortening the mountng tongue. I then cut a slot from the bottom of the cab and reused the coupler casting. The picture at right shows the chassis and body modifications, while the one below shows them joined. |  |
 |
|
| 6/21/06 The front pilot is ready to mount. The notch in the center will fit on the MT coupler. The nut/bolt/washers are by Grandt Line and the handrail is 0.025" brass wire blackened with Blacken-It. | 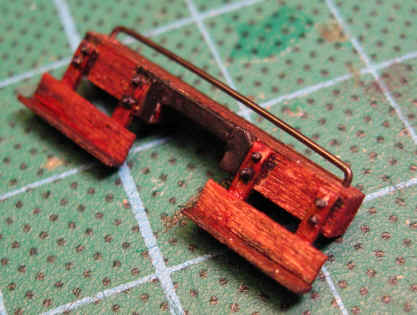 |
| 7/14/06 Silicone sealer attached the huge weight to the chassis and the single screw mount - just like AHM did it originally - worked just fine to attach the shell to the weight. A "saddle tank filler cap" fabricated from styrene tube and styrene sheet dresses the screw a little neater than AHM did. The pilot is glued to the front coupler box and I've added the headlight bracket and light, and the whistle. Still needed are a pull for the whistle and a bell. I'm waiting for an air-powered bell since the AHM boiler has the pipe molded on - may as well use the right bell. | 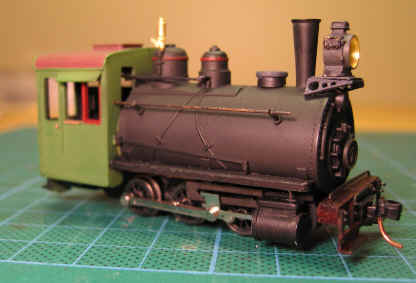 |
